Replacing Images
Images marked as editable can be replaced directly on the live page. No FTP, no file manager — just upload and it's done.
Replacing an inline image
Inline images use the data-cms-image attribute in your template. When you're logged in and hover over one of these images, a Replace Image button appears as an overlay.
- Hover over the image. A dark overlay appears with a Replace Image button.
- Click Replace Image. An image panel slides up from the runtbar.
- Click Choose file and select a new image from your computer.
- Click Upload.
The image updates on the page immediately. No page reload needed.
Accepted formats
JPEG, PNG, GIF, WebP, and SVG are all accepted. Maximum file size is 5 MB.
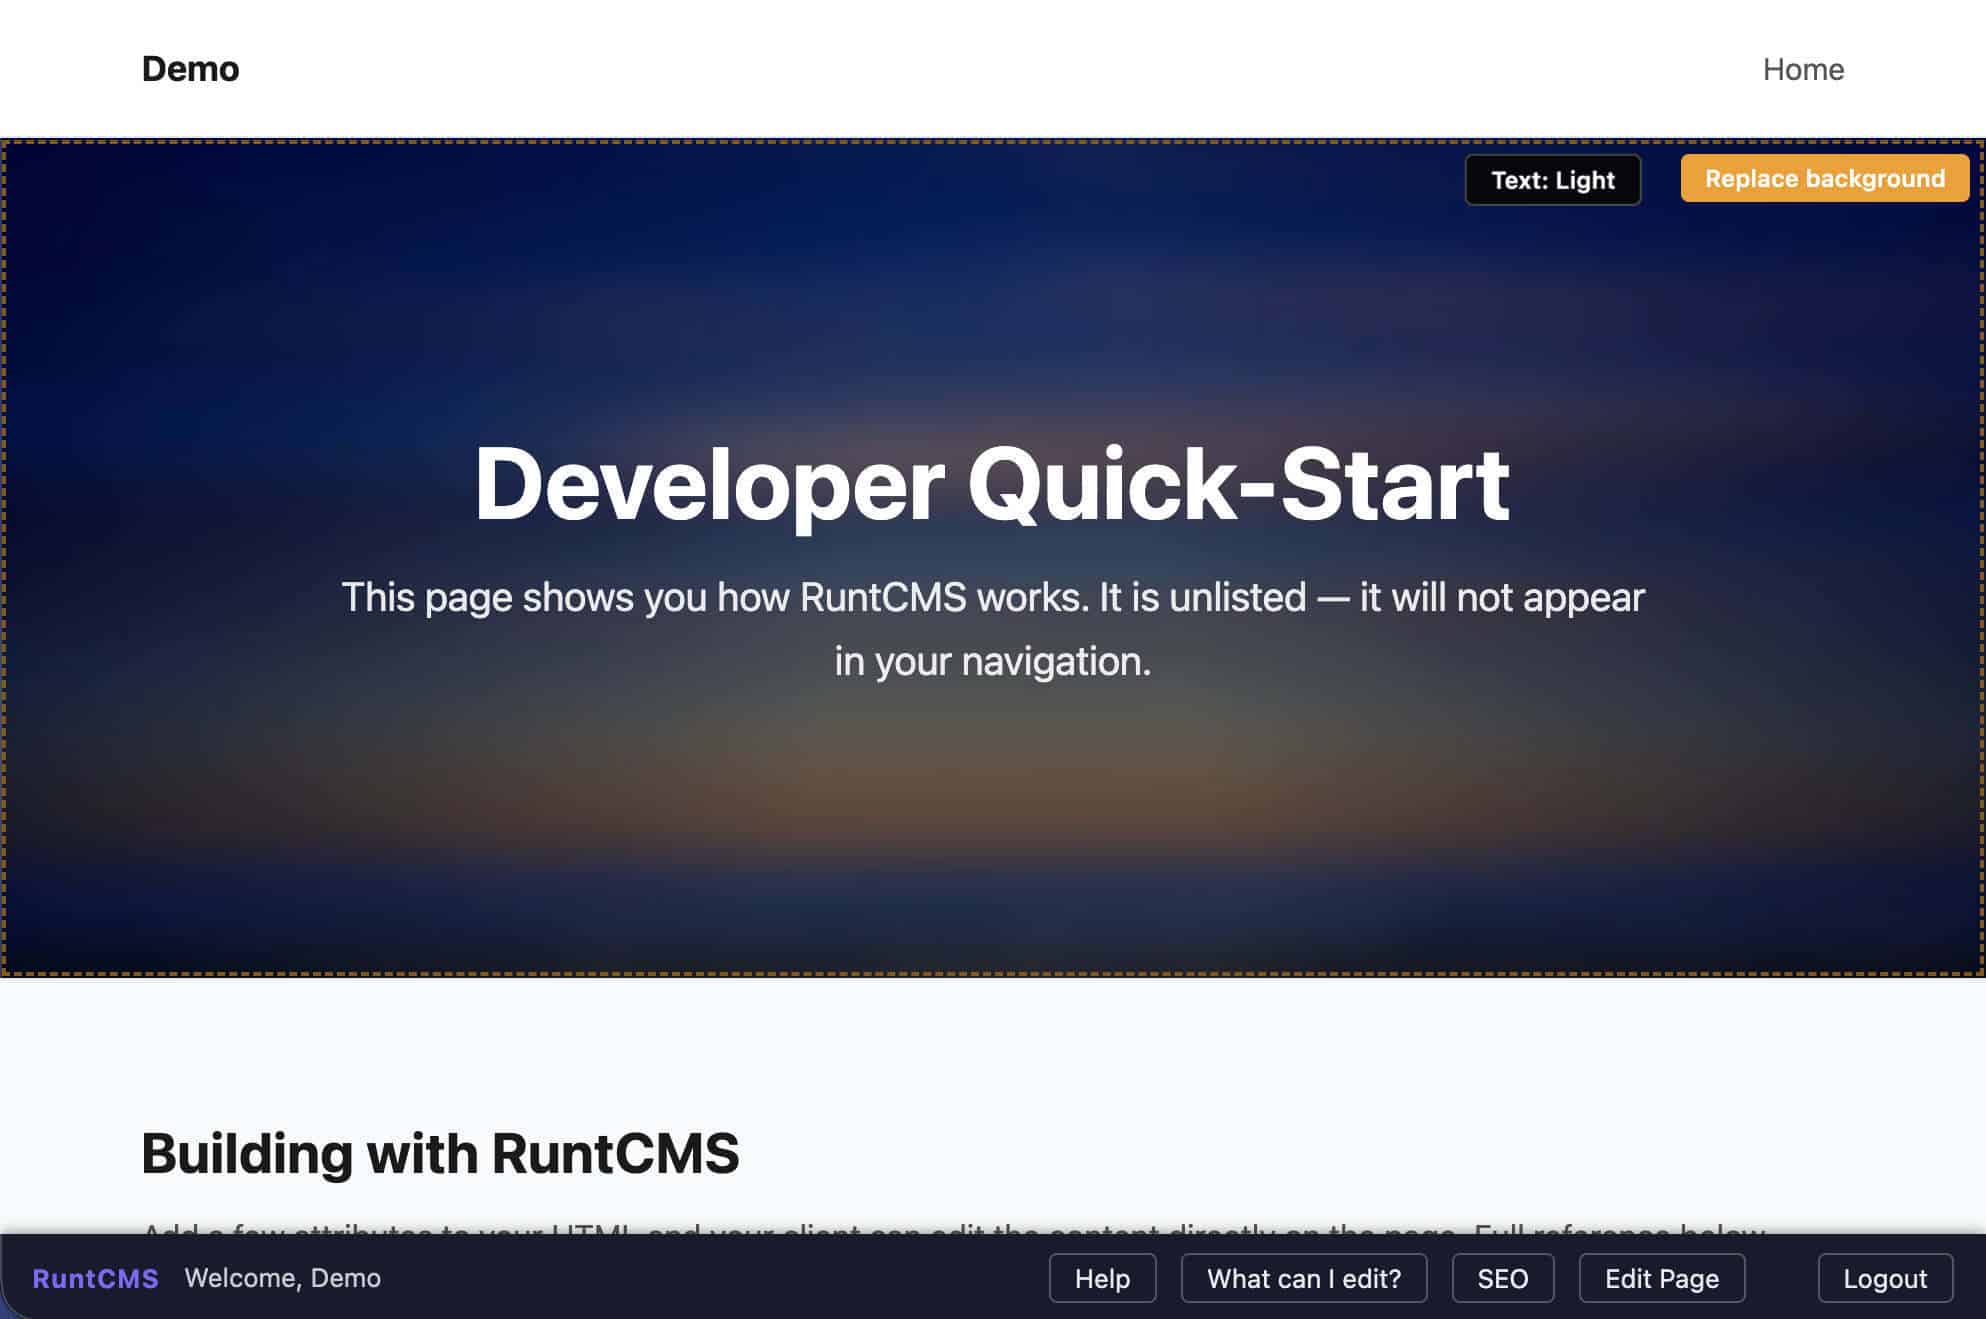
Replacing a background image
Background images work the same way. When you hover over a section with an editable background, a Replace Background button appears in the top-right corner of that section.
The upload process is identical to inline images. The new image becomes the CSS background of that section.
Changing text colour on a background image
If you upload a new background image and the text on top of it becomes hard to read — for example, you replaced a dark photo with a light one and the white text is now invisible — you can switch the text colour without leaving the page.
Hover over the section. If the developer has set it up, you'll see a Text: Dark or Text: Light button appear alongside the Replace Background button. Click it to toggle between light and dark text.
- Hover over the background image section.
- Click Text: Dark or Text: Light to switch.
- Click Save in the toolbar to save your choice.
Global images
Images using data-cms-global-image are site-wide. Replacing one updates it everywhere it appears. The image panel will note when you're replacing a global image.
Image versions
RuntCMS keeps the three most recent previous versions of each image slot. If you replace an image and regret it, open the image panel and you'll see a list of previous versions. Click Restore on any previous version to make it current again.
When you replace an image, the old version is automatically moved to a private archive. It's no longer publicly accessible on the web — search engines and visitors can't reach it — but you can still see it in the image panel and restore it at any time. Once a fourth replacement happens, the oldest archived version is permanently deleted.
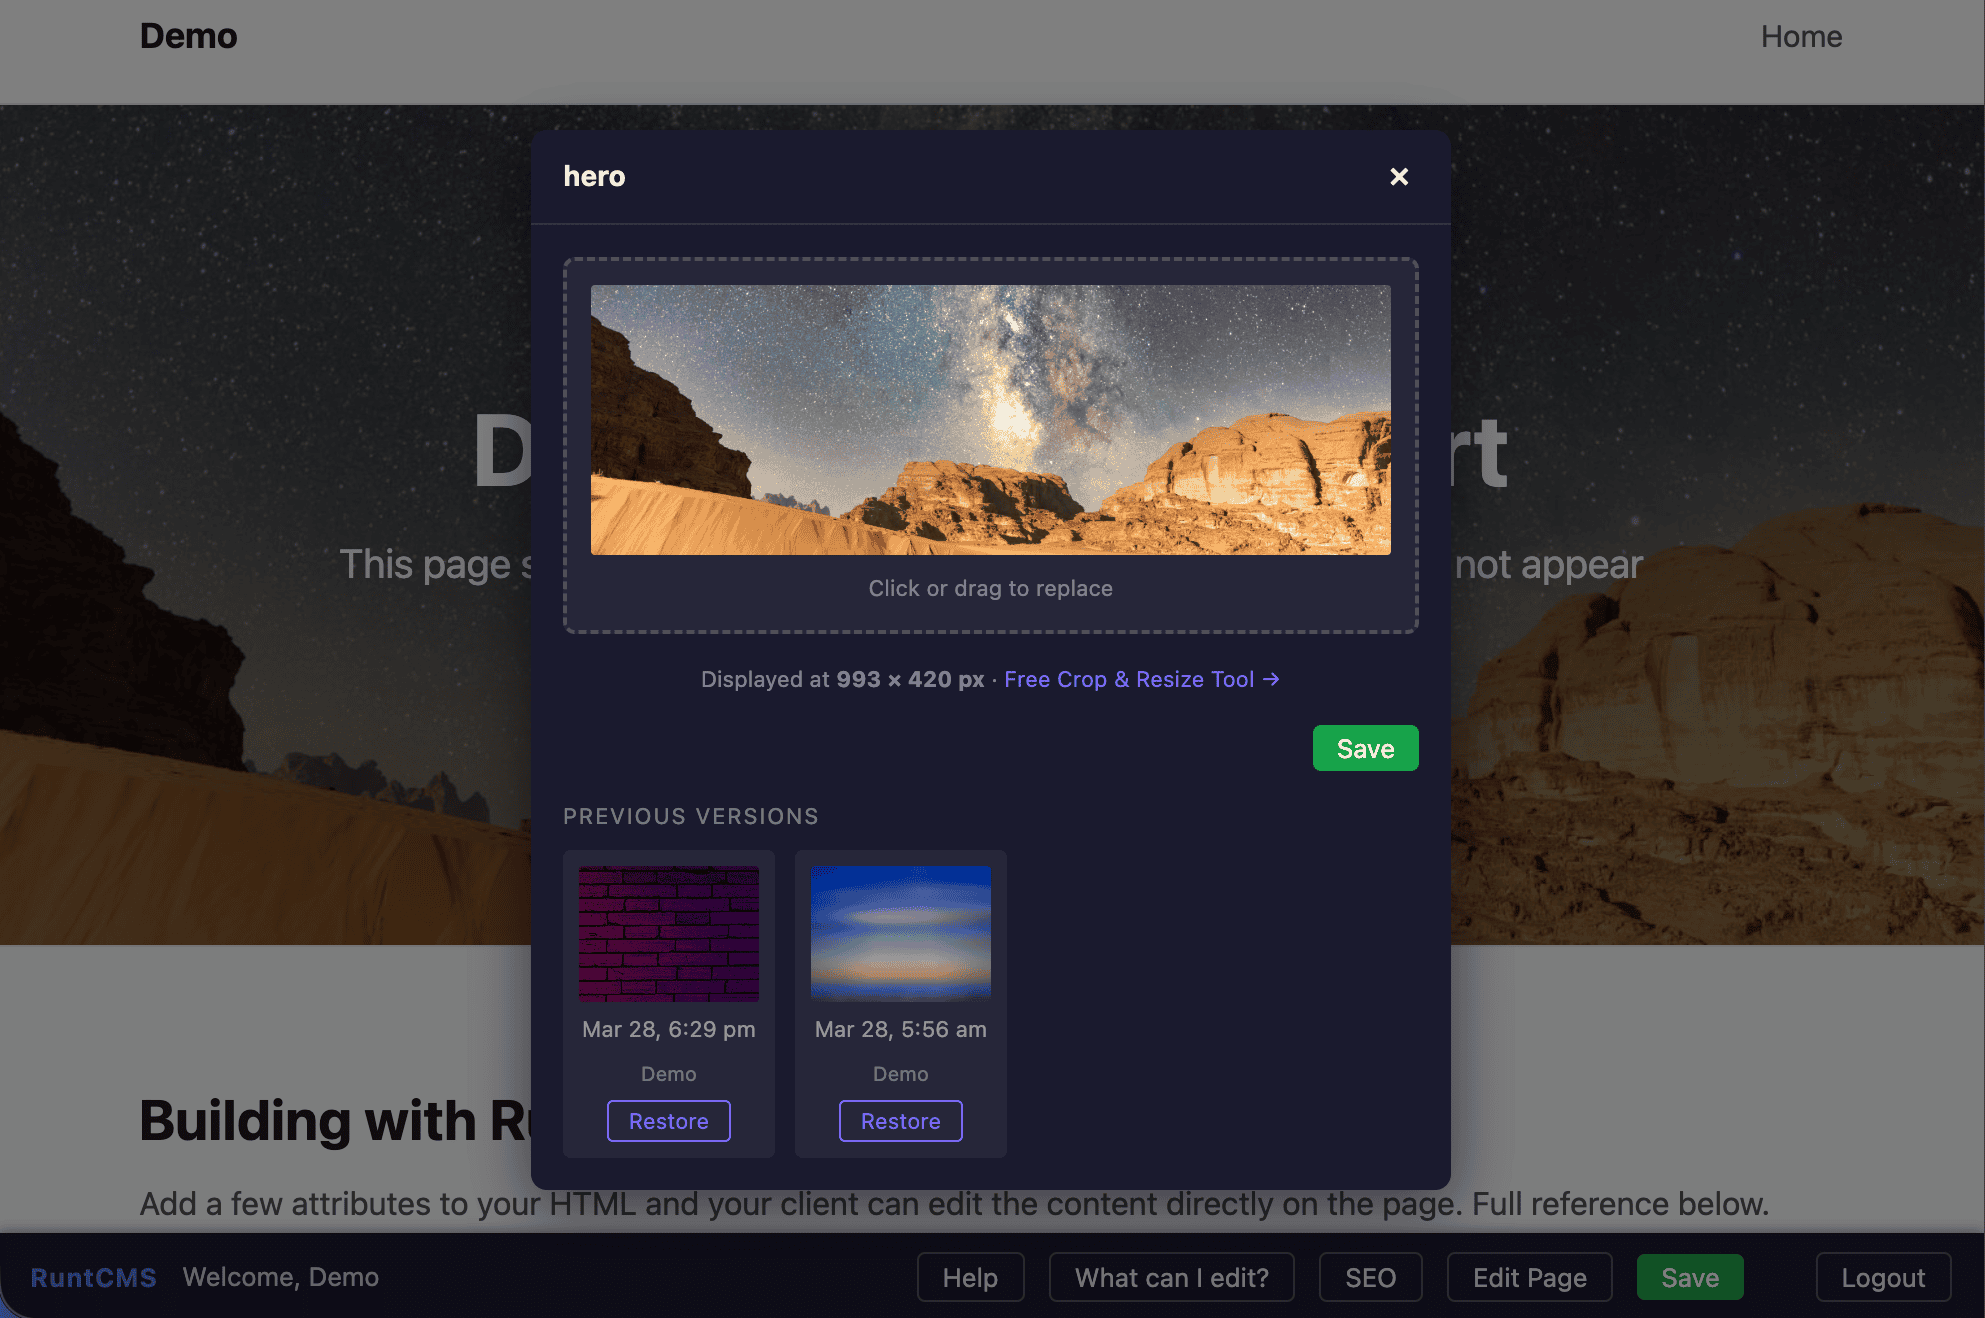
Image library
Admins can browse all uploaded images at Admin → Image Library. Images are tagged:
- In use — currently displayed on the site (either as the current version of a slot, or embedded in a text region via the Tiptap image tool)
- Archived — a previous version of a slot, stored in a private directory. These are not publicly accessible but can be restored from the image panel on the live page. Admins can also delete them from the library.
- No badge — orphaned. Not referenced anywhere. Can be cleaned up.
Use Delete Orphaned Images to remove files that are no longer referenced anywhere on the site.